We Love Cooking! [Search results for summer]
:: A Swedish Lunch: Roast Tomatoes with Mozzarella and Red Onion and Cucumber and Fennel Lentil Salad
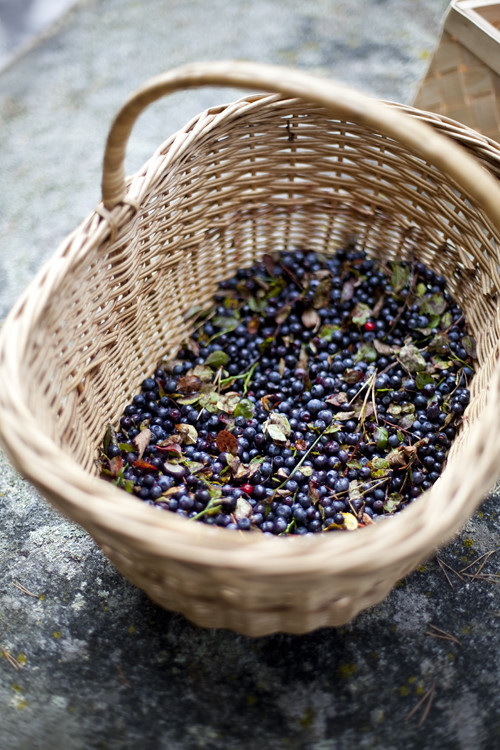
:: Wild Blueberry Picking and a Swedish Gooey Chocolate Cake
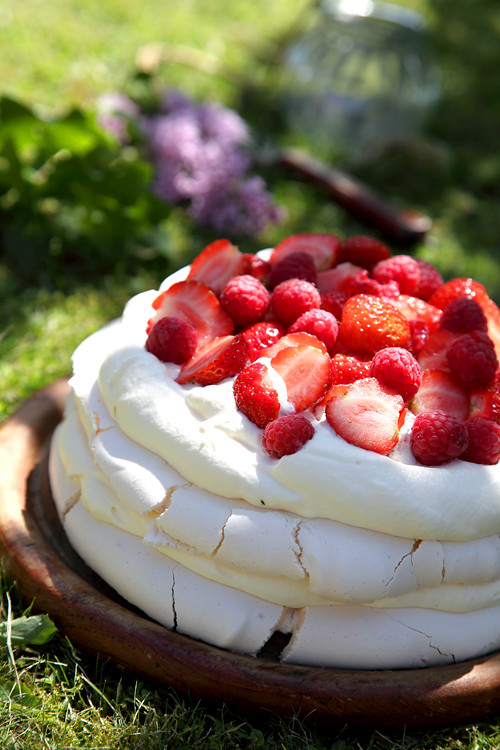
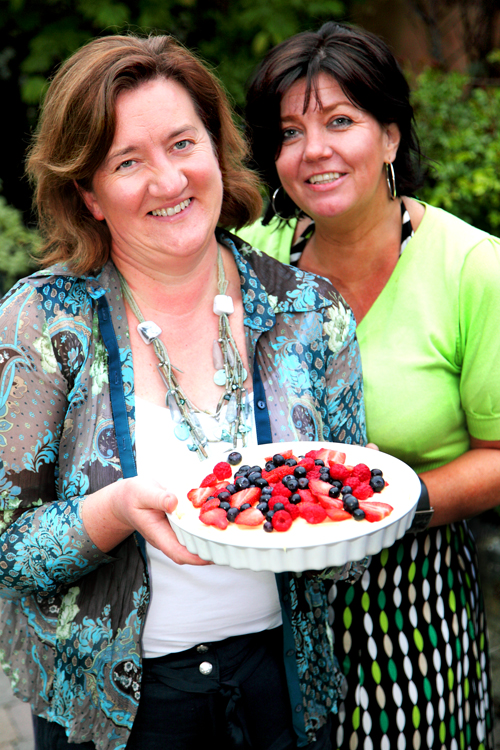
:: Summer Berry Layered Pavlova
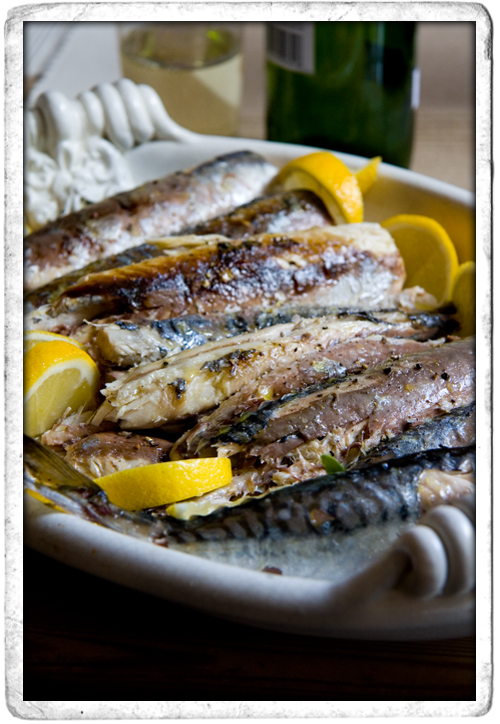
:: BBQ Mackerel with lemon and Smoked Sea Salt
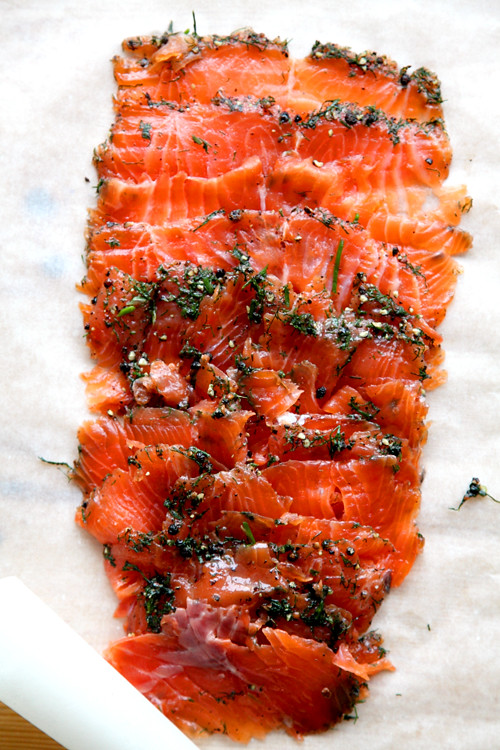
:: Swedish Gravadlax
:: Farmers Market in Howth

:: Spinach and Cherry Tomato Salad
:: SUNDAY SUMMER PICNIC!

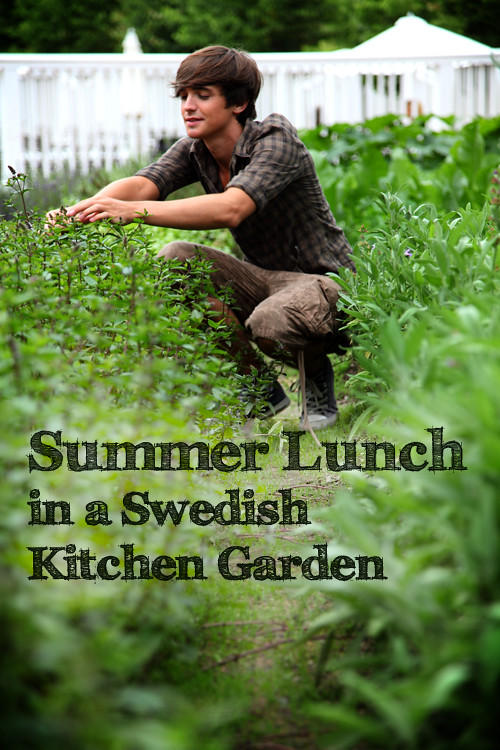
:: STARTING THE SUMMER IN SWEDEN

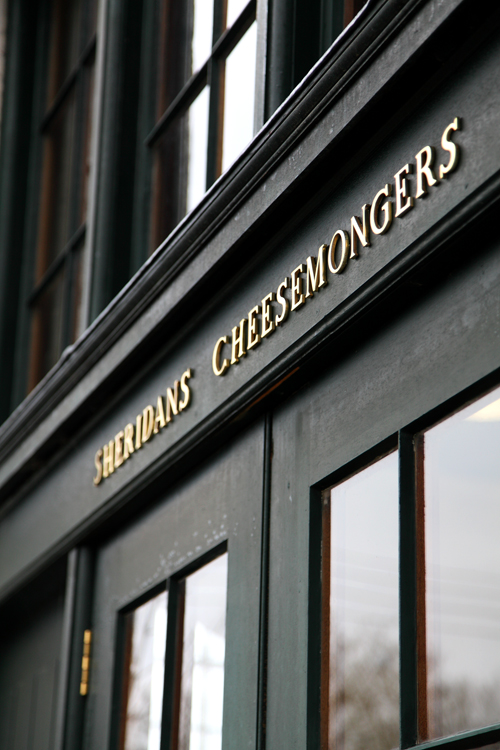
:: Sheridan's Cheesemongers Christmas Cheeseboard Selection!
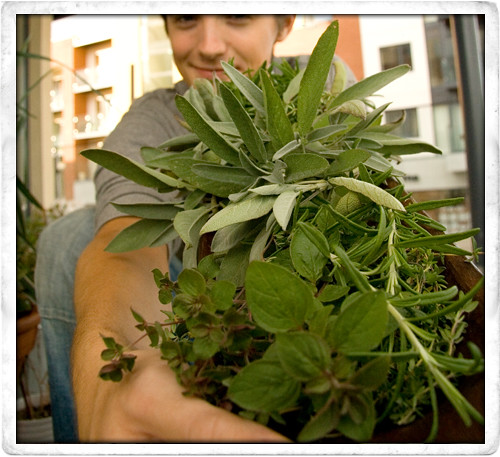
:: Home Dried Herbs: A Few Quick Tips!
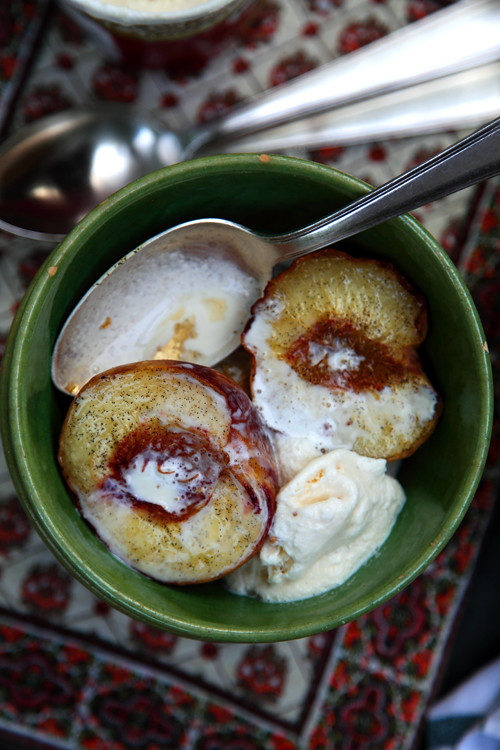
:: Baked Peaches with Vanilla Sugar
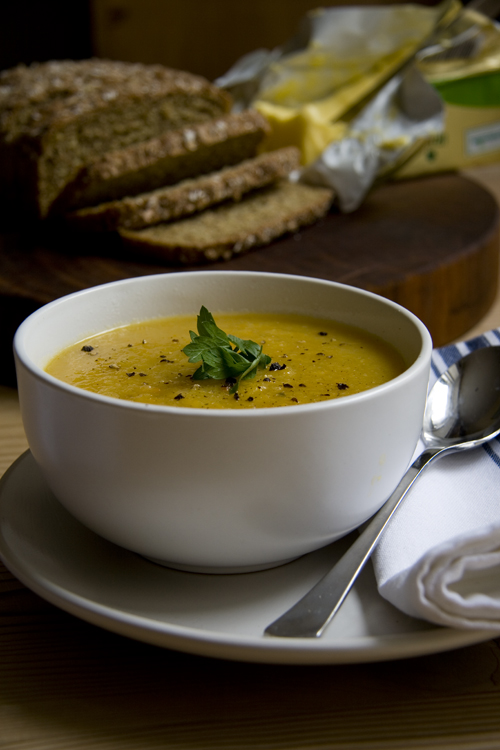
:: Bord Bia Hamper and Wholesome Veg Soup
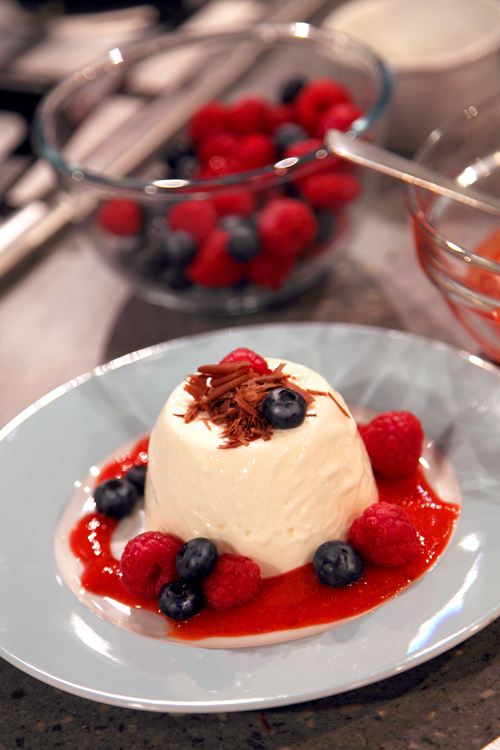
:: Simple Panna Cotta with summer fruits and dark chocolate!
:: Mega Strawberry Summer Cake

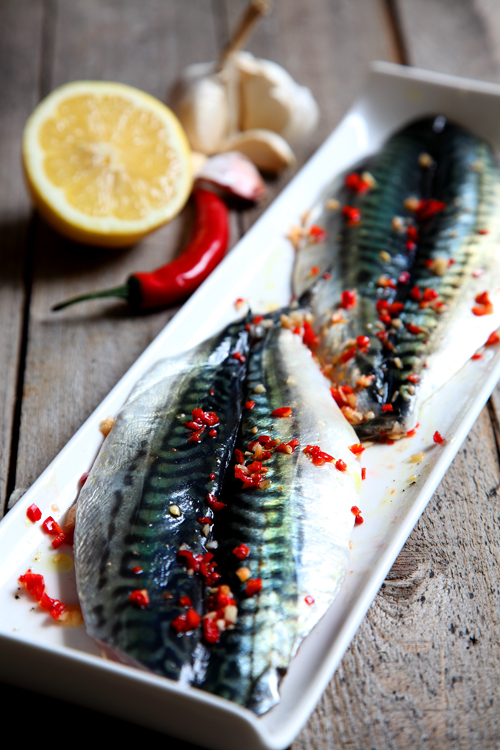
:: Simple Mackerel Fillets with Chilli, Garlic and Lemon
The Summer Salad

:: NIGHT OF THE LIVING DEAD... HERBS

:: White Chocolate Cheesecake with Summer Fruit
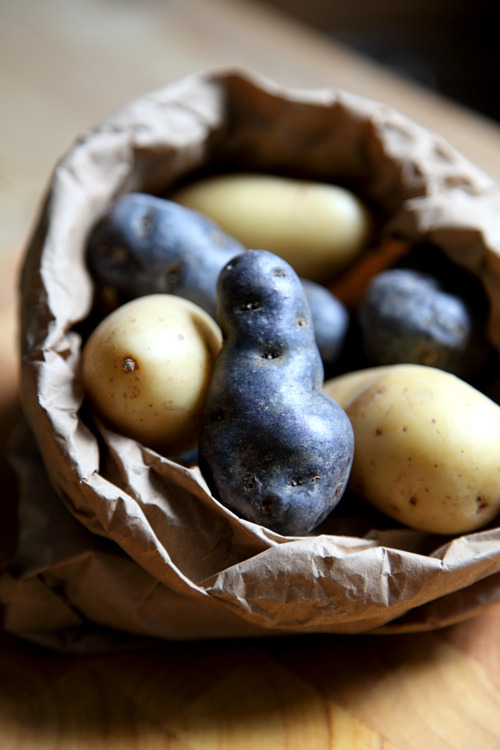
:: Zingy Purple Potato Salad!