We Love Cooking! [Search results for vegetable stock]
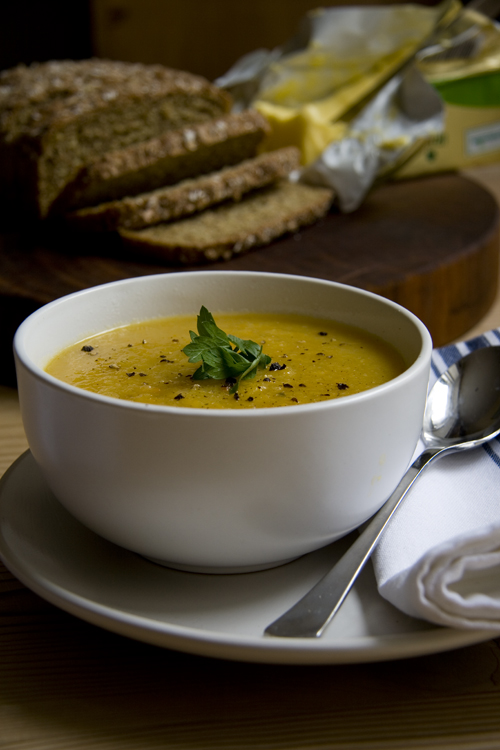
:: Bord Bia Hamper and Wholesome Veg Soup
:: MUSHROOM SOUP!

:: Basic Soup Recipe
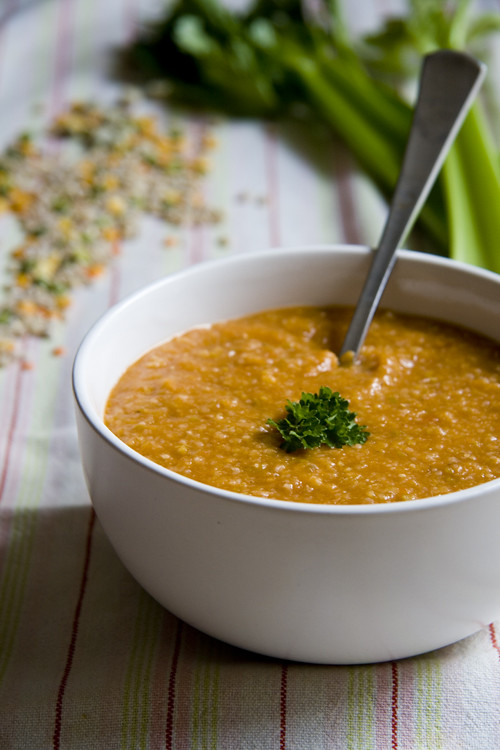
:: Boot Camp Soup and back to business!
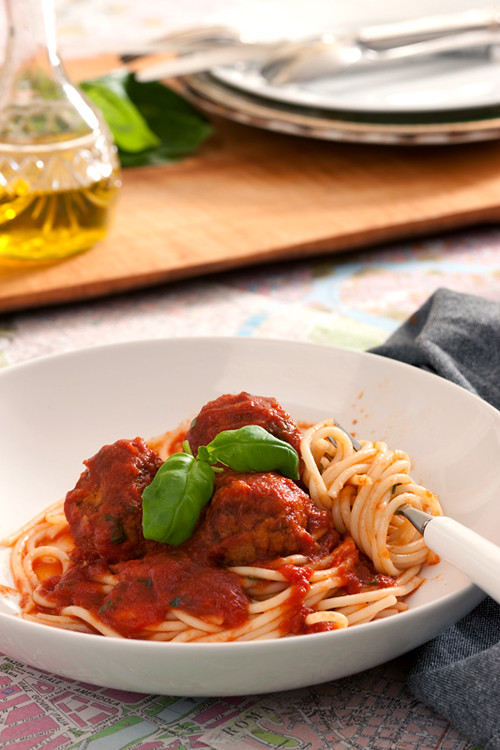
:: Catherine Fulvio's Meatballs in Spicy Tomato Sauce
:: Pumpkin and Crispy Pancetta Risotto

:: RESTORATIVE CHICKEN SOUP! (Not just for the soul!)
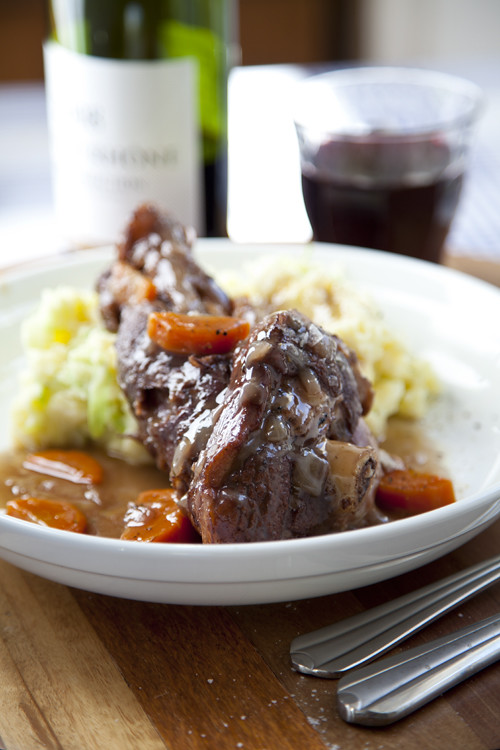
:: Lamb Shanks with Colcannon Mash
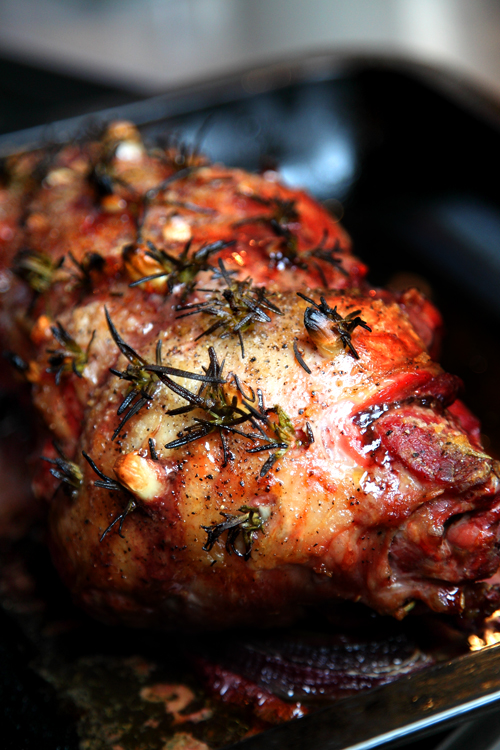
:: Simple Garlic and Rosemary Roast Lamb!
::Spicy Sticky Roast Squash Salad!


