We Love Cooking!
:
mint
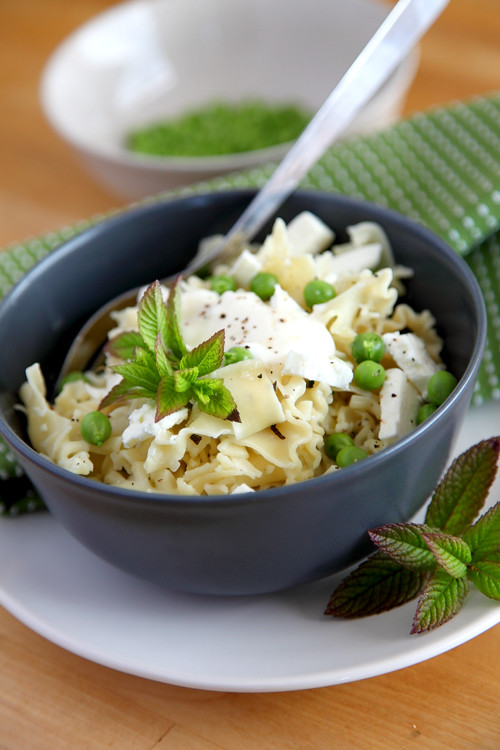
:: Pea Mint and Feta Pasta!
:: Quick Millefeuille with Toasted Hazelnuts, Cointreau and Strawberry Mascarpone Cream Filling
:: Jameson Iced Fire Ginger Mint Cocktail
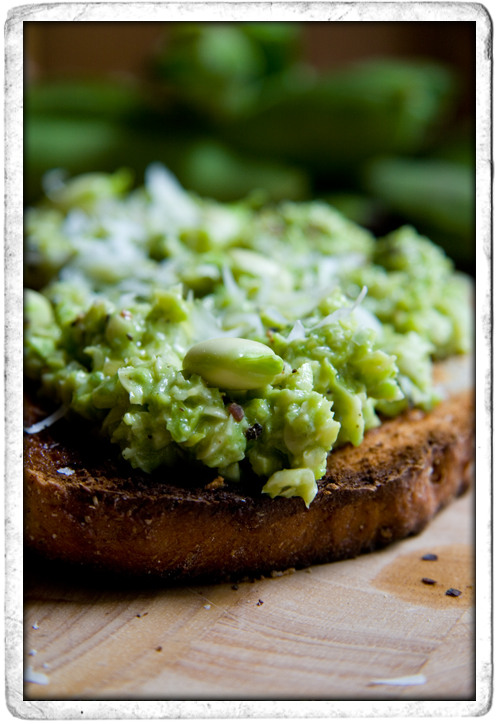
:: Broad Bean Crostini
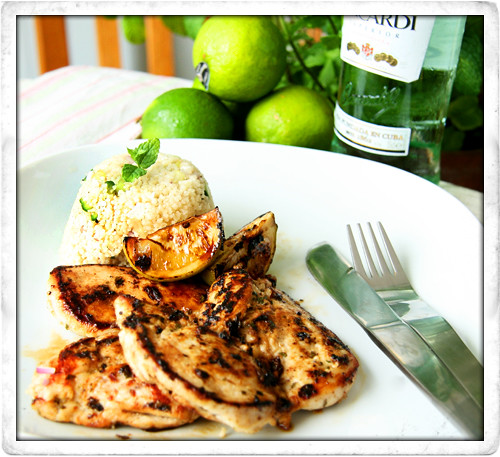
:: MOHITO LIME AND MINT CHICKEN!
Random for
food
:
NEXT >>