We Love Cooking!:
pastry
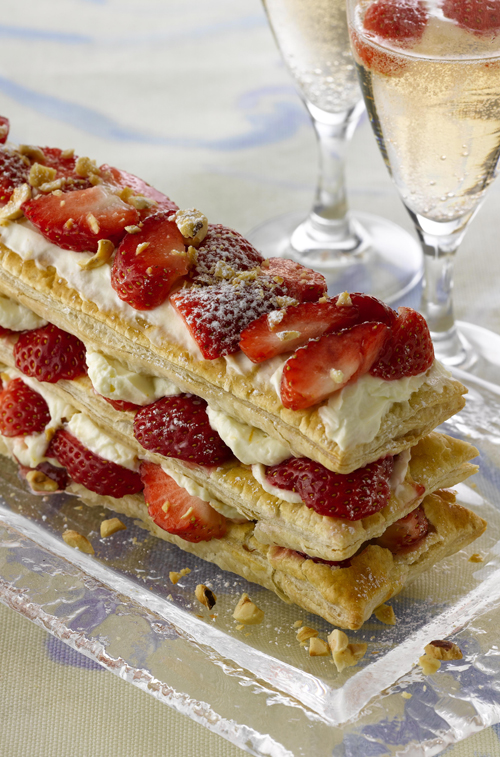
:: Quick Millefeuille with Toasted Hazelnuts, Cointreau and Strawberry Mascarpone Cream Filling
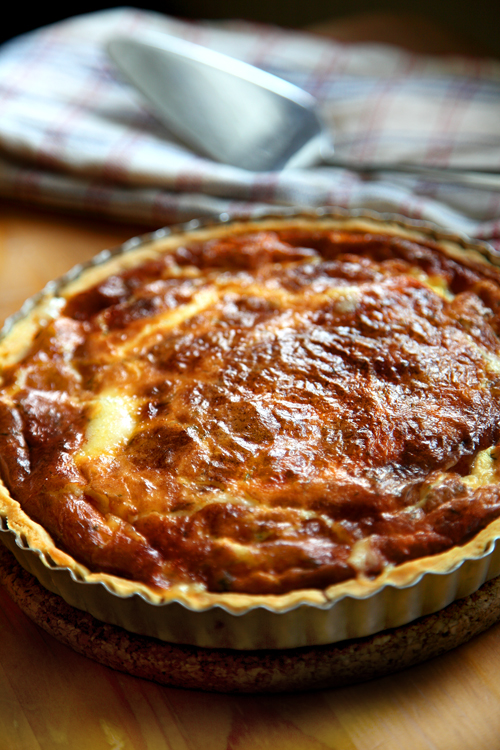
:: Västerbottensost Pie
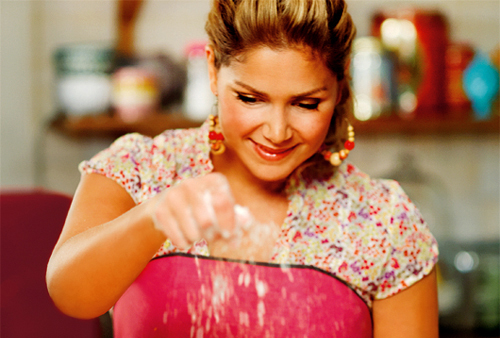
:: Leila Lindholm's Butterscotch Pecan Pie
:: Christmas Mince Pie Star Slices

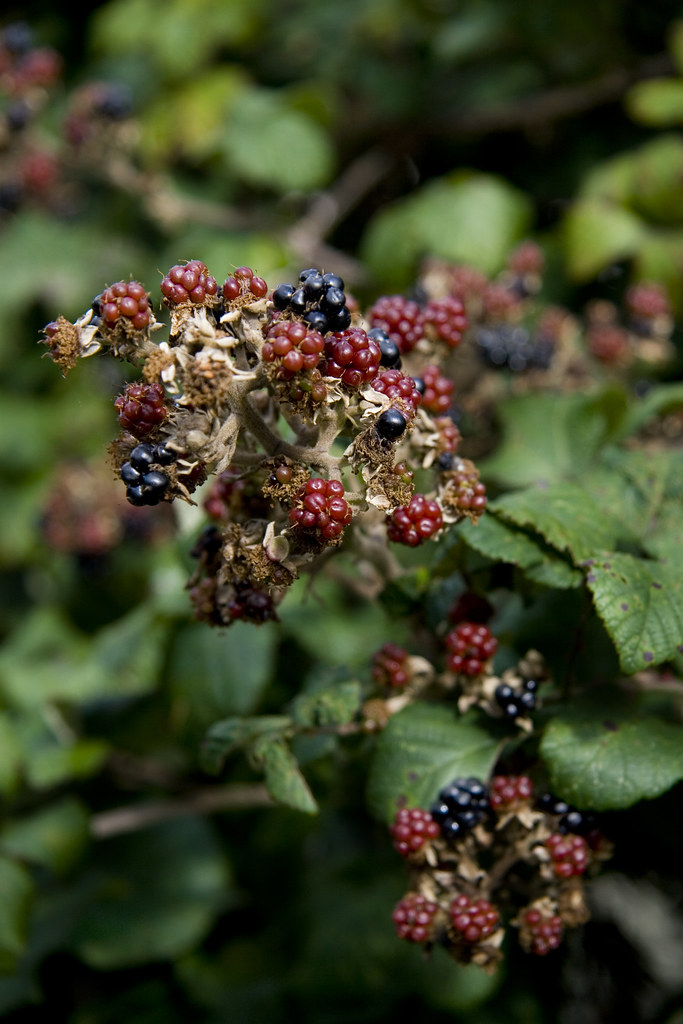
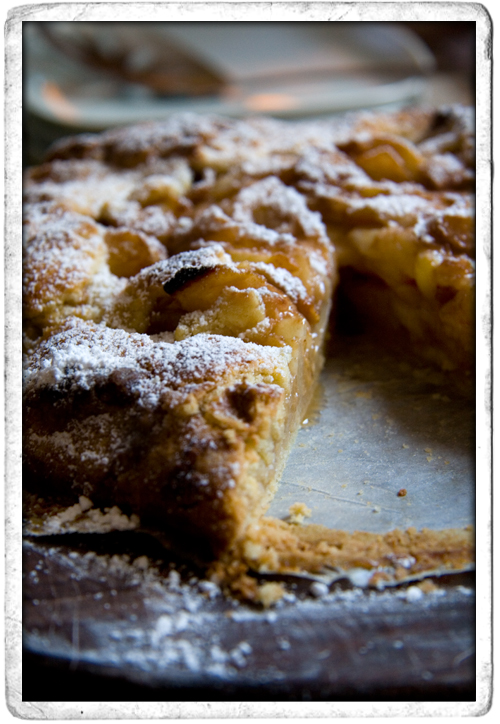
:: Homemade Blackberry and Apple Tart
:: Rustic Pear Tart with Apricot Brandy
:: Mini Beef and Mushroom Pies!