We Love Cooking! [Search results for pastry]
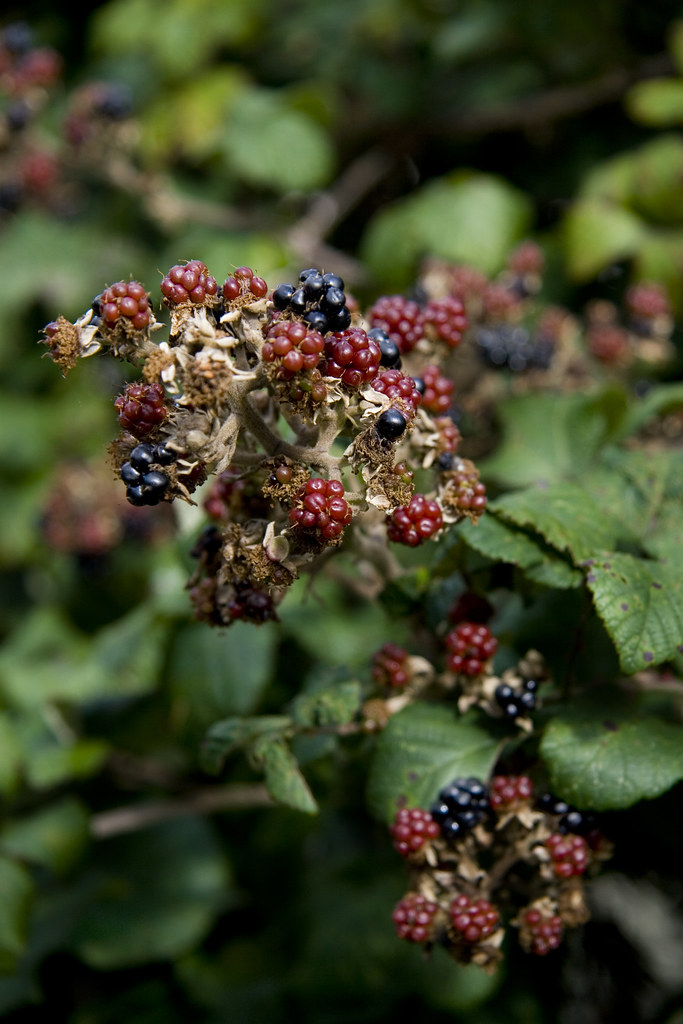
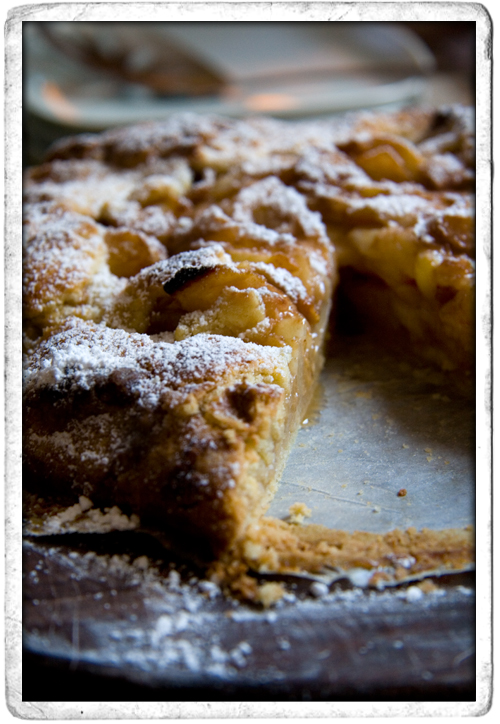
:: Homemade Blackberry and Apple Tart
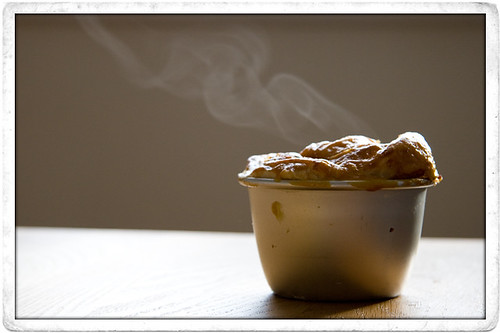
:: Mini Beef and Mushroom Pies!
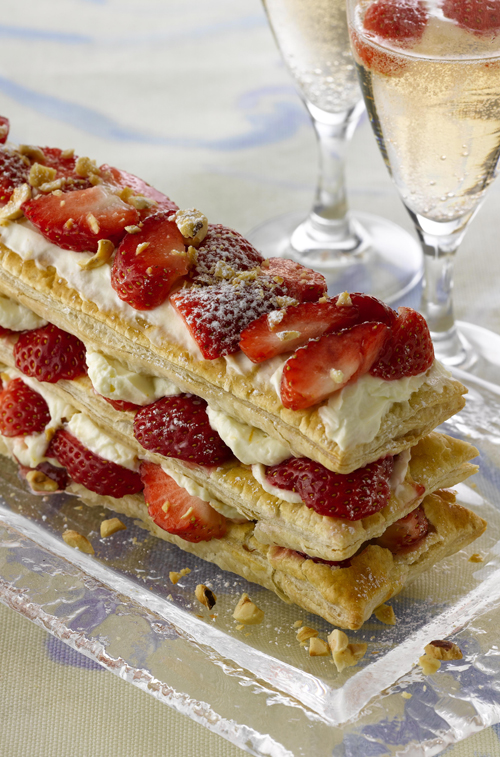
:: Quick Millefeuille with Toasted Hazelnuts, Cointreau and Strawberry Mascarpone Cream Filling
:: Mini Mince Pies!

:: Rustic Pear Tart with Apricot Brandy
:: Christmas Mince Pie Star Slices

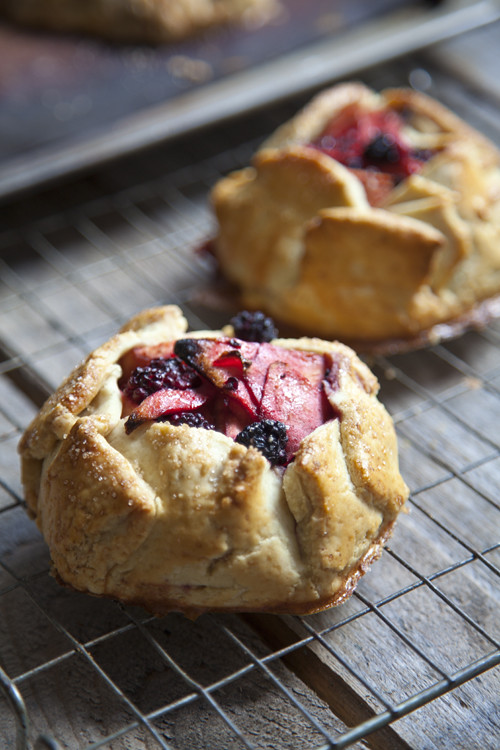
:: Rustic Apple and Blackberry Galettes
:: Leila Lindholm's Butterscotch Pecan Pie
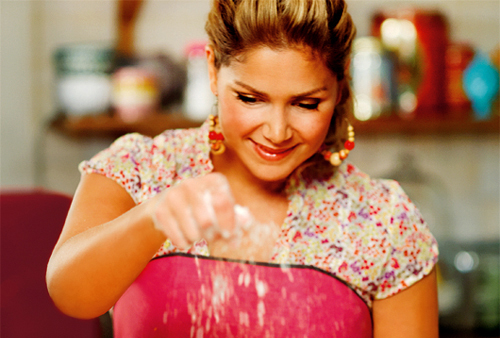
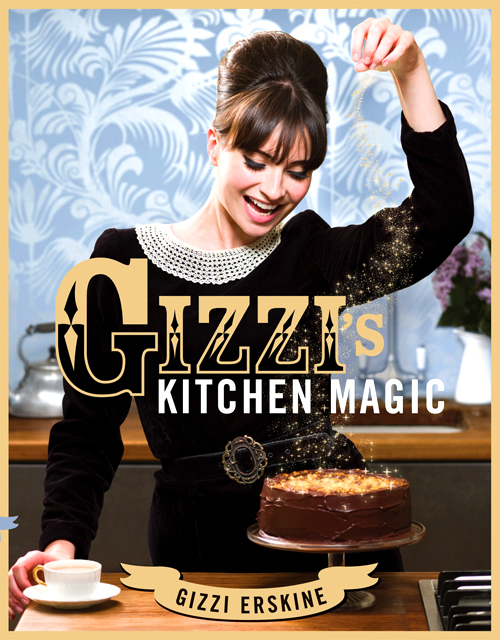
:: Kitchen Magic Cookbook Competition and Gizzi Erskine Interview!
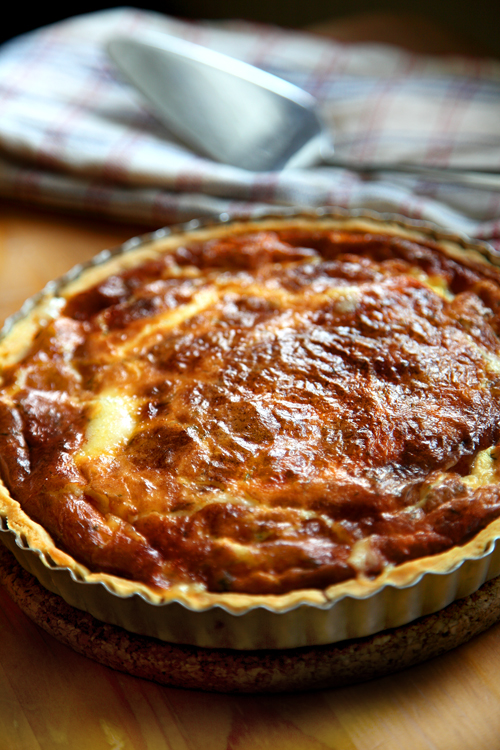
:: Västerbottensost Pie
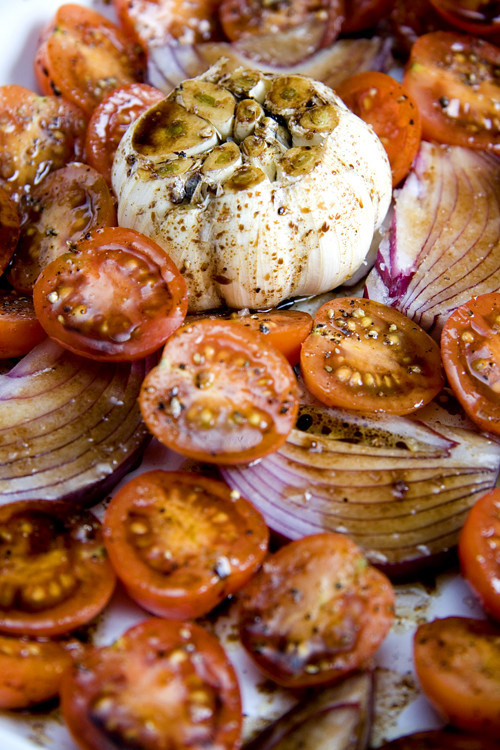
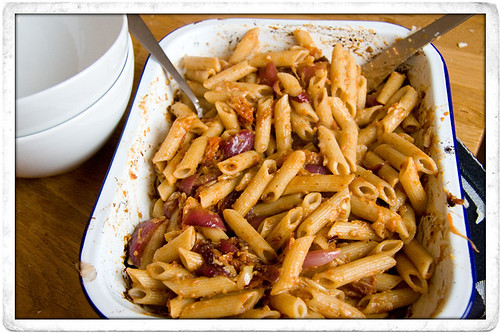
:: Mushy Roast Garlic and Cherry Tomato Pasta
:: Gizzi Erskine's Creamy Smoked Salmon & Pea Spaghetti
:: A Plethora Of Pears and Some Weekend Cooking!
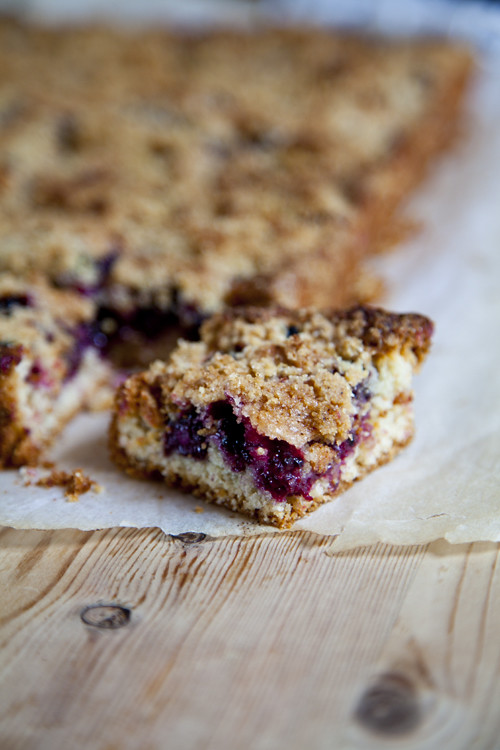
:: Blackberry Crumb Slices
:: Mushy Roast Garlic and Cherry Tomato Pasta
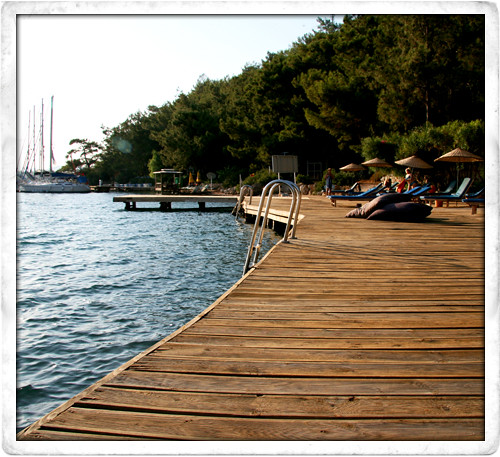
:: TURKEY TRAVEL LOG: Orhaniye- Dirsek- Monastery of Panormitis, Symi