We Love Cooking!
:
seeds
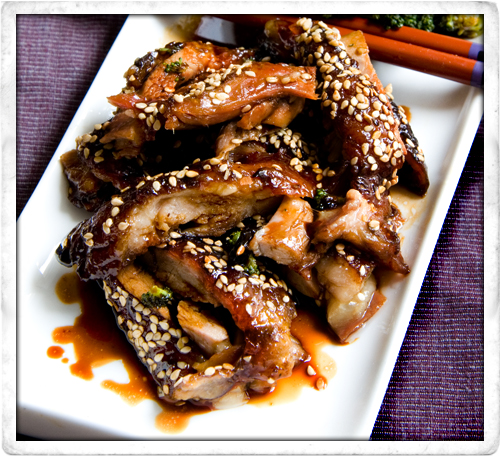
:: Honey and Sesame Duck
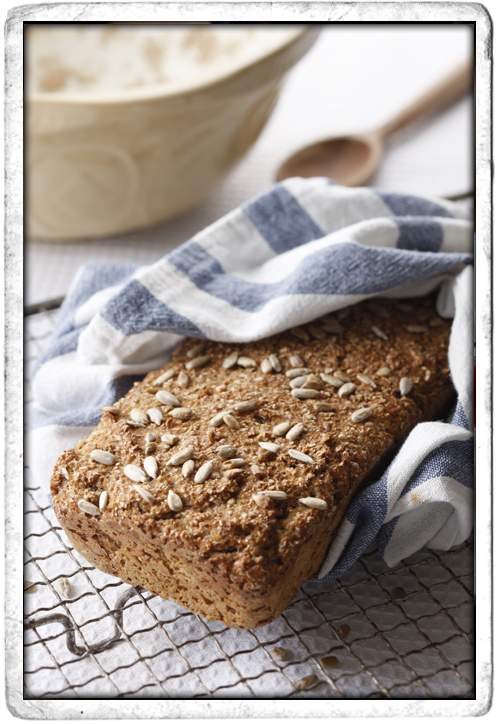
:: Irish Brown Yeast Bread
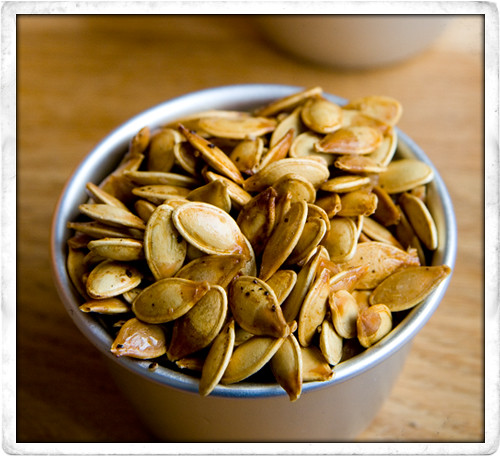
:: Carving Pumpkins and Toasted Pumpkin Seeds!
:: Asian Chicken Wings
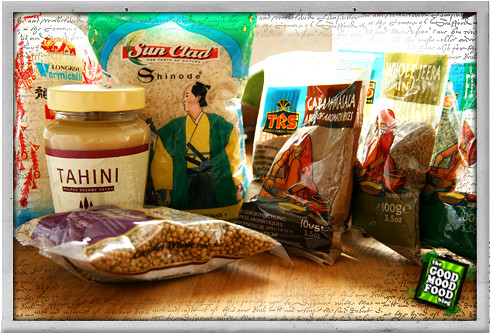
:: SESAME PASTA SALAD
Random for
food
:
NEXT >>