We Love Cooking!
:
tips
:: Home Dried Herbs: A Few Quick Tips!
:: Handy Quick Caesar Dressing!
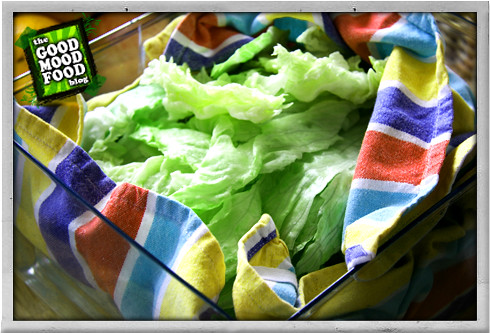
:: Easy Salad Preperation
Random for
food
:
NEXT >>