We Love Cooking! [Search results for honey]
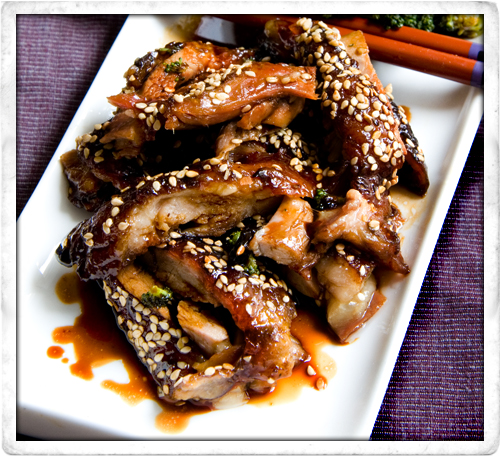
:: Honey and Sesame Duck
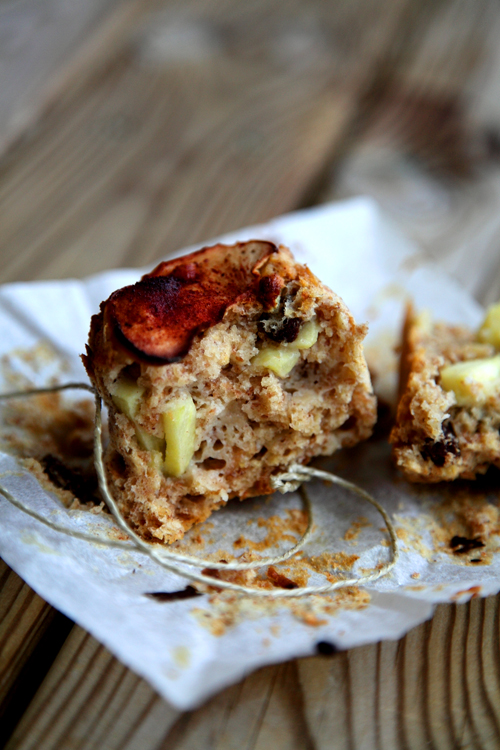
:: Big Boy Apple Breakfast Muffins
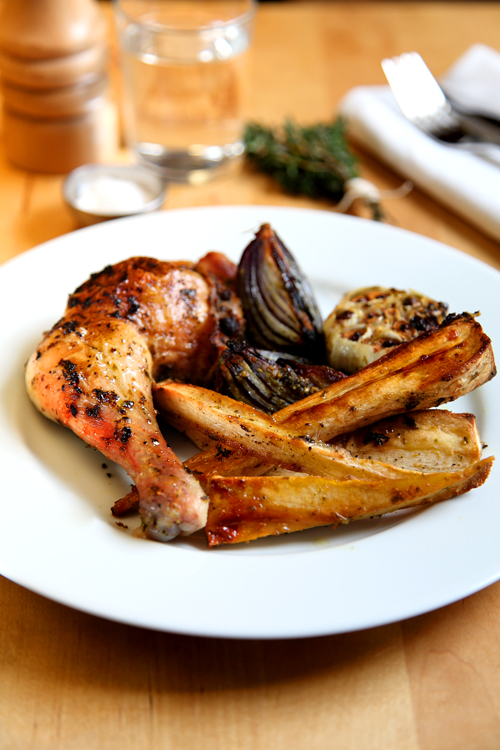
:: Herby Roast Chicken and Honey and Thyme Parsnips
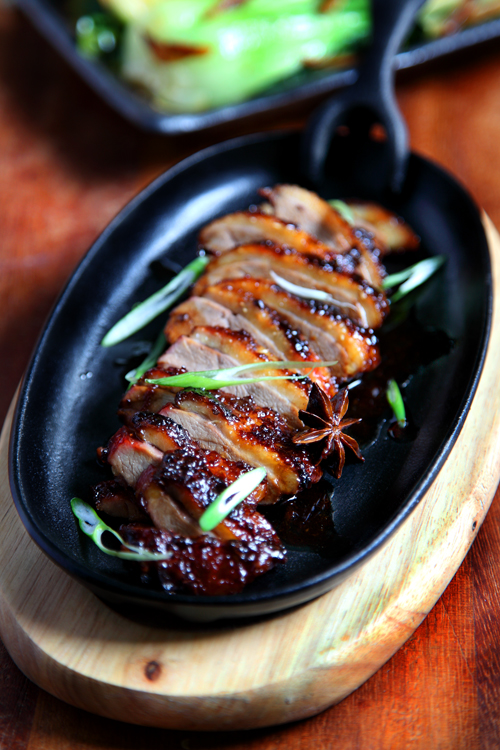
:: Sticky Star Anise Honey Duck
::Apple and Cinnamon Porridge

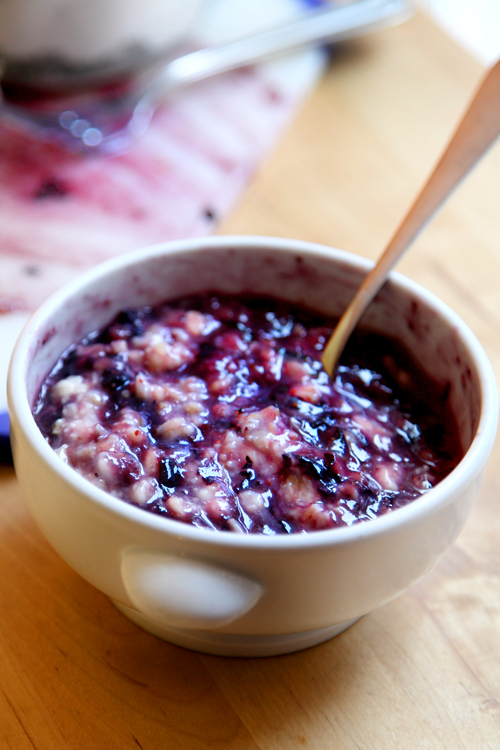
:: Blueberry and Banana Breakfast Porridge
:: Good Mood Food Recipe Archive

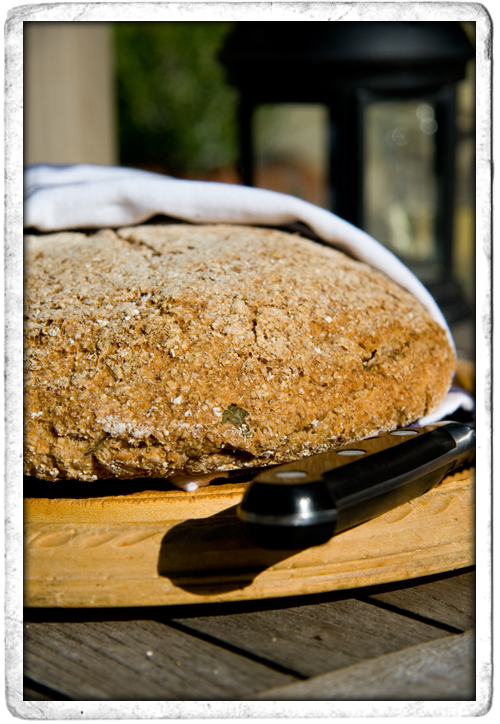
:: Sofie’s Rocket Olive and Feta Cheese Bread
:: Recipe Archive Has Been Updated!
::Spicy Sticky Roast Squash Salad!

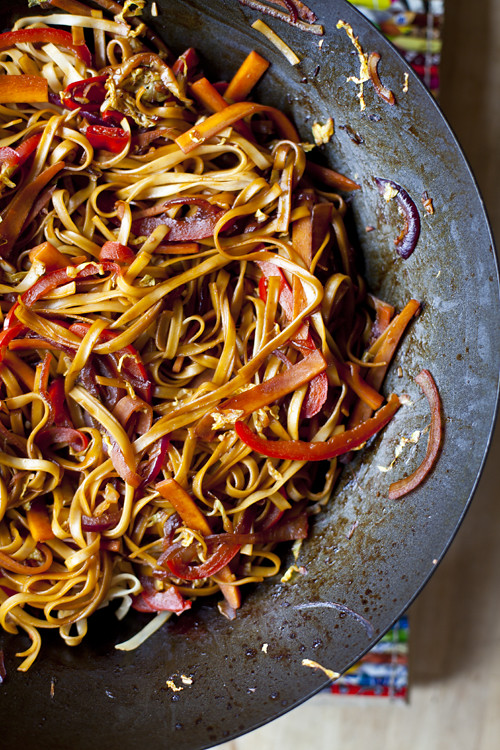
:: Zingy Quick and Tasty Stir-Fry
:: RESTORATIVE CHICKEN SOUP! (Not just for the soul!)
:: Leila Lindholm's Butterscotch Pecan Pie

:: What is the mood food blog all about?
:: World Food Blogs
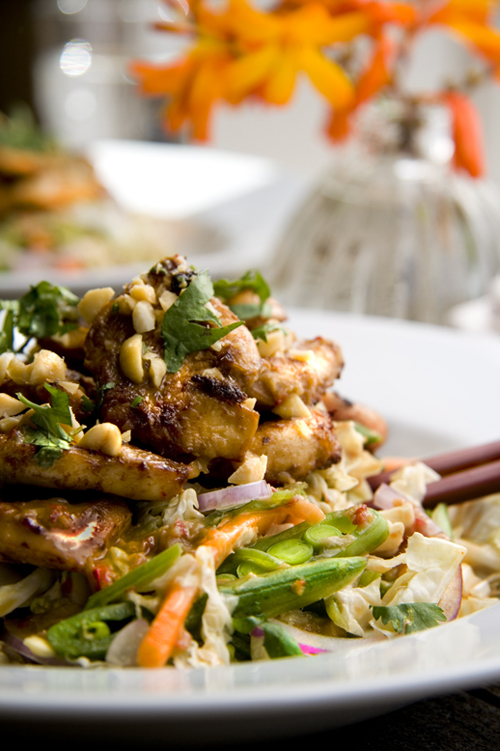
:: Irish Tatler and Asian Chicken Salad with Chilli, Ginger and Lime Dressing
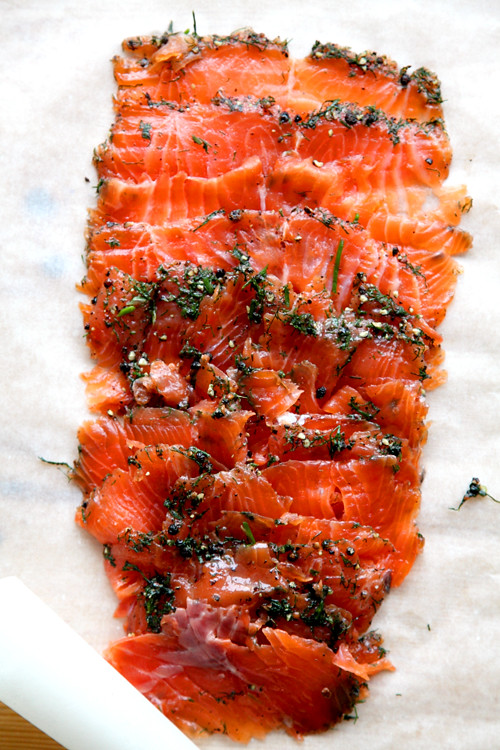
:: Swedish Gravadlax
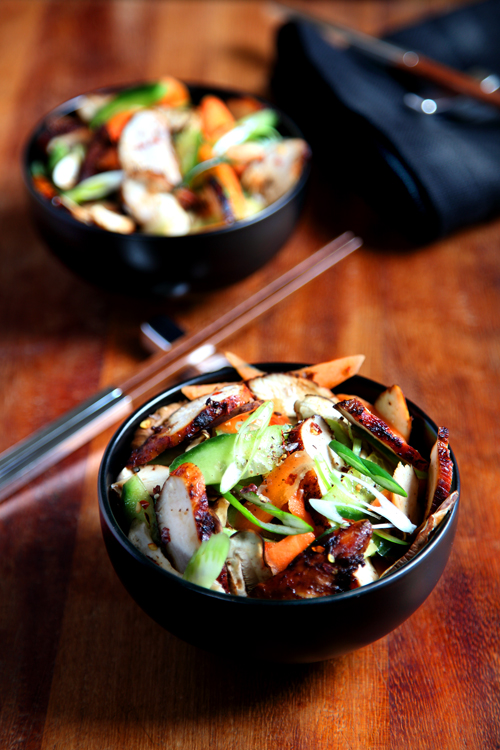
:: Spicy Sichuan Chicken Salad
:: Asian Chicken Wings
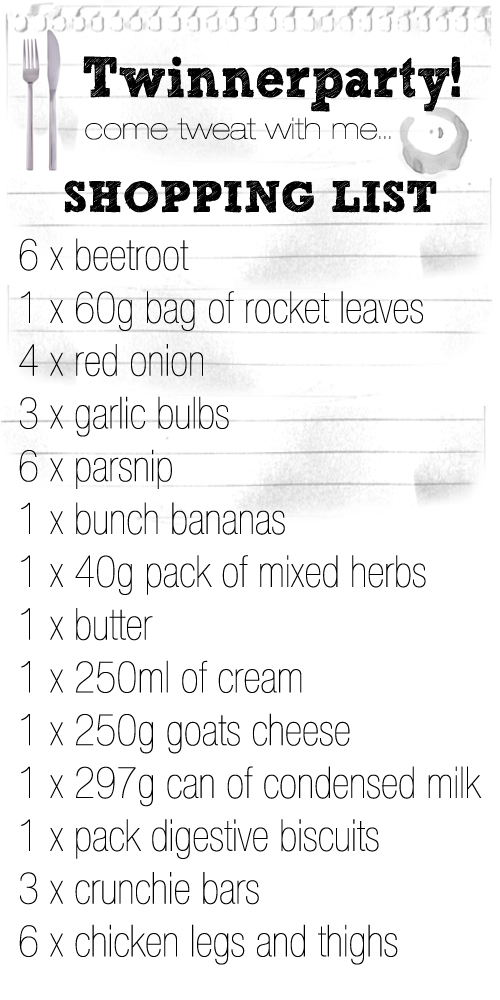
:: Twinnerparty Shopping List