We Love Cooking! [Search results for snack]
:: Homemade Paprika Roast Potato Chips

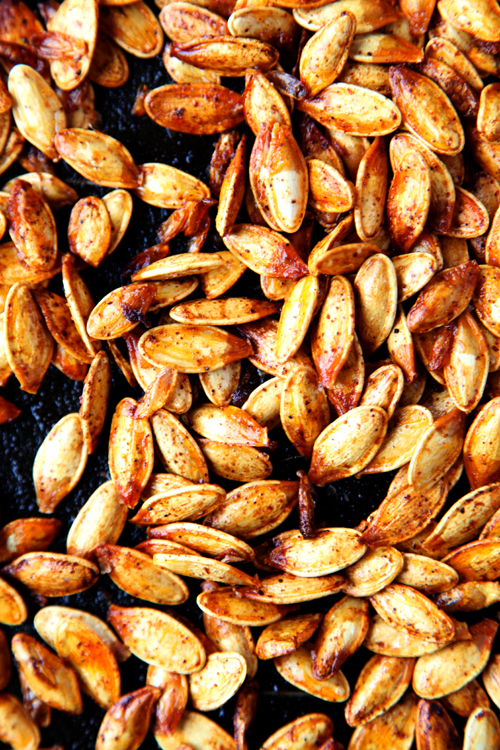
:: Spicy Pumpkin Seeds
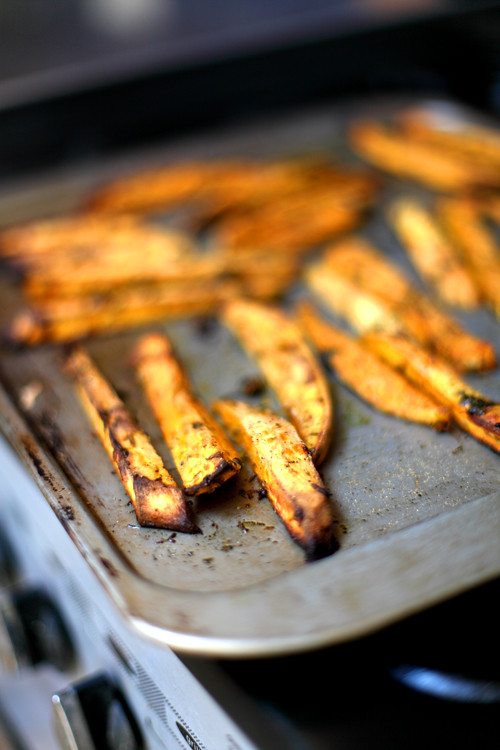
:: Herby Sweet Potato Chips
:: Mini Mince Pies!

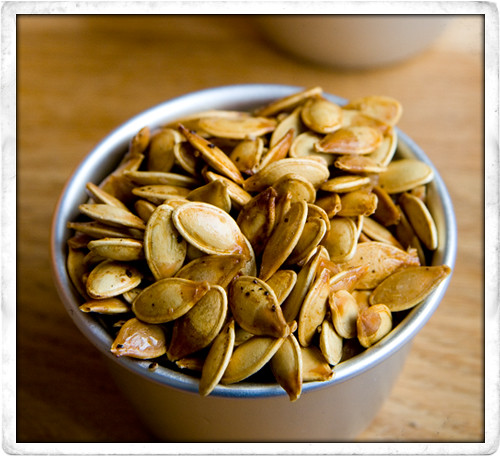
:: Carving Pumpkins and Toasted Pumpkin Seeds!
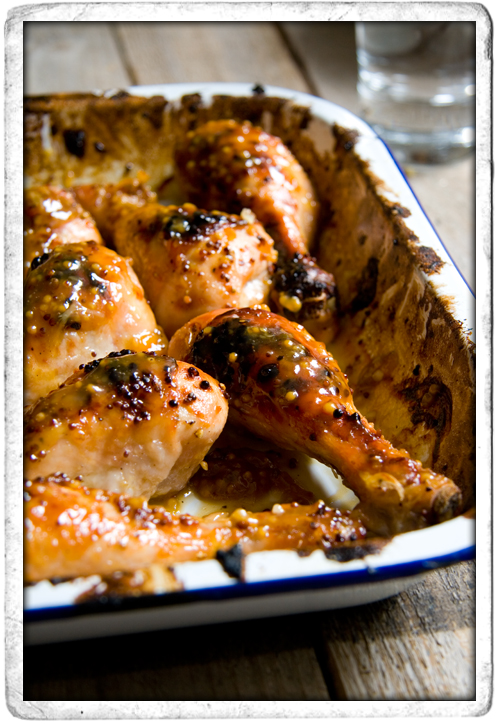
:: Sticky Mustard Chicken Drumsticks
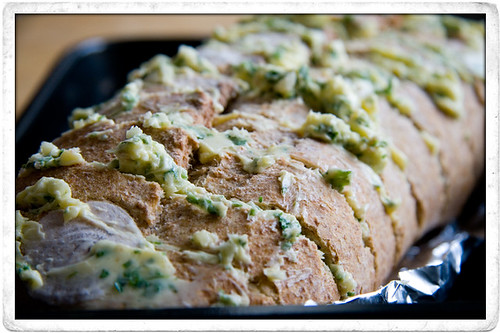
:: CHUNKY GARLIC BREAD
:: CRISPY SWEET POTATO WEDGES

:: SUNDAY SUMMER PICNIC!

:: Strawberry Season 1/2


